While I do like creating with traditional Christmas colors, I also love to give my Christmas cards a twist by using non-traditional colors!
Today I'm going to show the second project the guests at Janet's workshop a couple weeks ago. Have a look...
I used my old standby Notecards with Envelopes! The whole card is matted with Night of Navy. I stuck a strip of Marina Mist across the card and to that I attached an ornament! The ornament is from the Delightful Decorations set and was stamped with Night of Navy ink on Whisper White ink. It was then punched out with the Ornament Punch and embellished with a little bling!
A Rhinestone, of course *wink*, and some of the new TINSEL TRIM!!! Did you notice it in the Holiday Mini? Now, I will admit that I wasn't really a fan when I first saw it, but I thought I would order some and give it a try....I'm hooked! It adds just the right amount of sparkle. And, it's wired, so it's just wrapped around the top of the ornament and squeezed a bit to crimp the wire and it totally stays where I want it...no adhesive!!! It comes in two colors too! You'll definitely want to add a roll to your next order.
Well, that's all for today! Have an inspired day!
Sunday, October 3, 2010
Saturday, October 2, 2010
Scrapbooking my Garden
This spring Kevin built me some fabulous cedar planter boxes for a little garden. He built me three 3x8 boxes which we filled with about 4 inched of gravel for drainage and then filled with dirt. Then, on May long, I got to planting with the boys. We've enjoyed yummy veggies all summer and the boys are so excited to plant it again next summer!
The layout I'm sharing today for Scrapbook Saturday, is all about our first little garden!
I love this layout and can see so many other ways to use it...think school pictures, a "My Friends" page, choosing a wedding dress page, and so many more! I will definitely be using this layout again!
It's pretty straightforward, but I'm super excited about the focal picture on the left hand page. Take a closer look...
My picture is 4x4 and I cut half an inch off each side, then glued it on about an eighth of an inch away from the rest of the picture. It's kind of a fun way of framing the most important part of the picture...which in this case is me and my little Sawyer!
You may have noticed that my page is missing a title. That's because I don't know what to call this page. Any of you have any ideas for me? Leave a comment and let me know what you think my title should be!
Have an inspired day!
A Variation on a Theme
Hello! I totally meant to post this on Friday, but I was super busy with some other stuff (which I will share with you on Monday!) and it totally slipped my mind! So, I guess I'm starting my Countdown to Christmas a little late this year!!! You'll want to come back each Thursday until Christmas for a fabulous Christmas project idea. I will be sharing cards, tags, gift packaging and home decor ideas for the next 12 weeks!
So, let's get started with the first project!
I absolutely love the last simple card I showed here, and have been kind of stuck on the idea. So, to go with the card and 6x6 page, I've made a simple and fun gift bag to share with you.
You can see how it's very similar to that card, right?! On the op and bottom edge of the bag, I used the scrap piece that is left after you cut the zig zag piece with the Tasteful Trim die. Don't throw away those pieces ladies...they're just as fun and easy to use as the piece that is meant to be cut out!
I also applied some of the yummy Cherry Cobbler Seam Binding to the top and bottom edges of the bag over top the cardstock piece. I finished it off with an Early Espresso Satin Ribbon bow on the handle of the bag.
Well, I hope you've enjoyed the first of my 12 Christmas projects. Check back next Thursday for Week #2's project!
Have an inspired day!
Tuesday, September 28, 2010
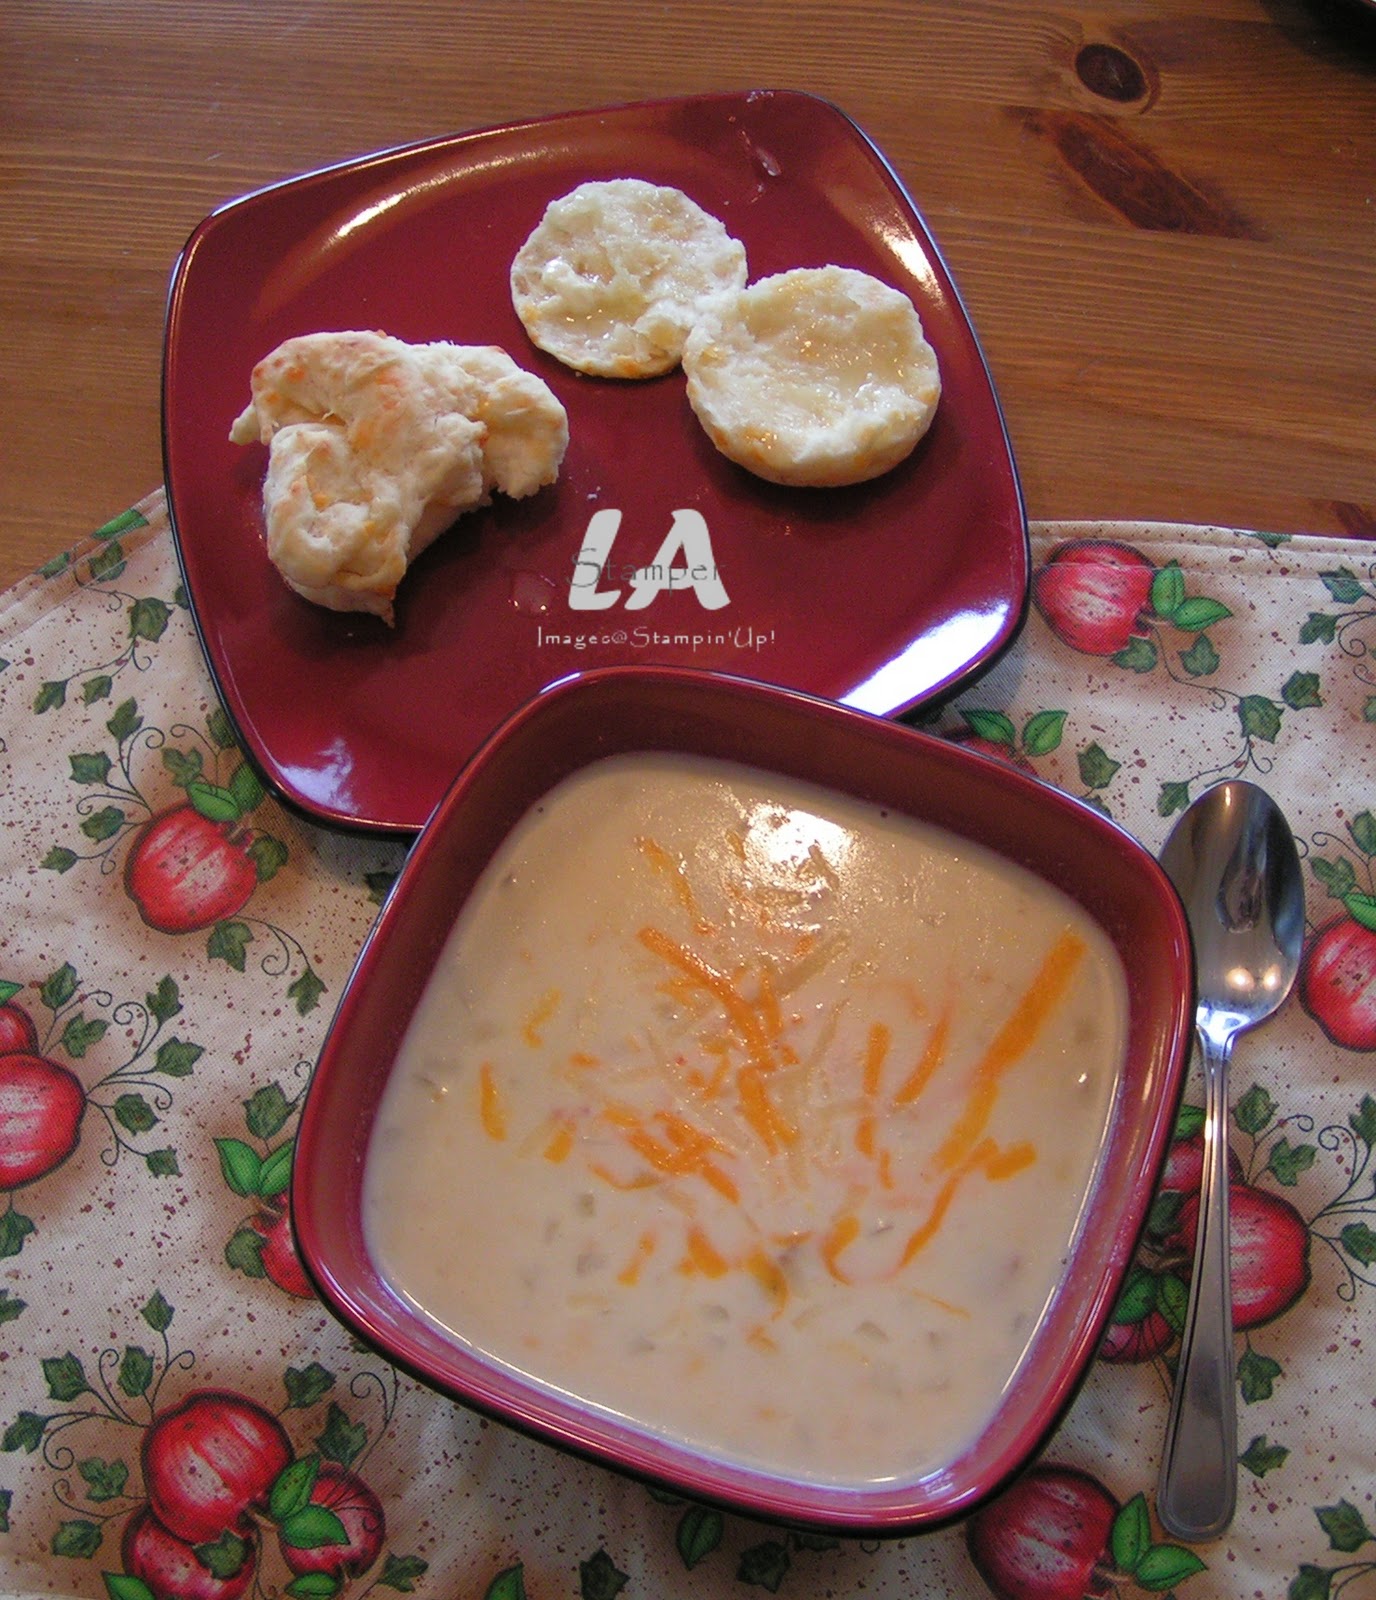
Fabulous Corn Chowder
Today I'm going to share a recipe! The girls that have come to my Soup & Stamps night for the last couple of years have been asking and asking for me to share my recipe for corn chowder. So, here it is! Now, a I've said before, I don't really measure when I cook, but I can tell you the steps and give you approximate amounts! Becasue I know you're wondering...Soup & Stamps will happen during SAB again.
Here are the ingredients you will need.
Step one is to wash, peel and dice your potatoes. I used 6 medium russets this time! Once that's done, put them in a large pot and just cover them with water. You want to cook them until they're almost done.
While the potatoes are cooking, dice up a medium onion. Once it's diced, put it in a mocrowave safe container with some butter (a tablespoon) and microwave the onions until they're translucent. This usually takes bewteen 2-3 minutes, but I give it a stir every minute.
When the potatoes are almost done, add the onions to them and then you want to pour some milk into the pot (don't drain the potatoes, just add the milk). Add as much as you want. In the end, if you like your soup thicker, you can thicken it with some flour.
Once you've added your milk, you're ready to add the corn. I use corn that I've blanched and cut off the cob. I package the corn in 4 cup amounts, so I've added 4 cups of niblets and one can of cream style corn. If you don't have fresh or frozen corn, you can add about 2 medium cans of niblets corn and 1 can of cream style corn.
After you've added the corn, add salt and white pepper to taste (I used white pepper because I think black pepper looks kind of like bugs in the soup!). If you want, you can also add some garlic powder (I often do!). You need to bring it up to a boil and then reduce the heat and let it simmer until the corn is cooked. Stir often and heep the heat low so it doesn't scorch on the bottom.
When it's almost done, add some bacon bits. I make my own, which is why you see a whole pack of bacon in my ingredient picture. I don't use a whole pack of bacon bits, just a handful.
I like to serve it with a sprinkle of grated cheese and some cheese biscuits (see this post for the Cheese Biscuit recipe I use).
The kids call this "Mom's Fabulous corn Chowder" and whenever I make it they almost lick their bowls. They probably do when I'm not home!!!
I do find that this soup freezes well and it's the perfect meal for a dreary day!
Enjoy!
Monday, September 27, 2010
Something Fishy
At the Mini Convention I attended a few weeks ago, we had the cutest centerpiece on the food table. I took a mental picture and when I got home I made one!
I found this glass container at my local craft store and just applied one of the images from the Spooky Things Decor Elements to it. I put some glass beads in the bottom and tied some ribbon around it. And, then...added some fish!!!!
Isn't that awesome! I had to get three, becuase my three boys were fish shopping with me. It looks so cool up on my shelf in my halloween display!
Have an inspired day!
Subscribe to:
Posts (Atom)