Sunday, November 23, 2014

Simple Card Sunday 12-Christmas Bliss

Hi Stampers!  Welcome to Simple Card Sunday.  This week I have a fun star themed Christmas card to share with you.


I used some of the Trim the Tree DSP from the Holiday Catalog as the starting point when I was designing this card.  Let's get started!


Step-by Step (cardstock measurements are noted in the video):
Here's the video so you can follow along with me.  All the measurements for the cardstock are noted in the video.


 And, as always, I have some more cards with this same layout to show you.  I must find this layout easy to work with because I have 4 extras for you!

I pulled out my Blendabilities for the flower for this one!

You can find the Very Merry stamp in the December Wonder stamp set in the Holiday Supplement.

If you look close you will notice I stamped some snowflakes on the All Is Calm DSP!

Can you believe it?  No stamping on this one!
So, which card is your favorite out of the 5 shown today?

All the supplies you need to create any of the cards featured today can be found in my online store.  Head on over there to do some shopping, or you can contact me directly to place your order.

If you like what you see and you are Canadian, I would love to be your Stampin' Up! demonstrator.  Send me a message and we can get your creative journey started today!

Have an inspired day!


Thursday, November 20, 2014

Hello December No Cut Gift Box

Hi Stampers!  I have the perfect little gift box to share with you today and I'm super excited to share it because it's easy, uses one sheet of cardstock and has no cutting!  Every time a new catalog comes out I get together with my downline and we do a swap (it's so fun to stamp for a day with them and go home with loads of new ideas!).  At our last swap in August one of my downline made a super cute Frankenstein box and it inspired these boxes.  I just changed up the measurements to make my version bigger.  You can see the Frankie box that inspired me in my video!


This is what my stamp clubs made this month.  It features the Hello December Project Life card collection and the December Wonder Project Life stamp set.  Both of these products are available in my online store and in the Holiday Supplement.  The Hello December card collection is different from our other PL card sets because it has a bunch of cards that are the same, just different colors.  It's designed this way so that you have a "title card" for each day of the month and then have a bunch of different cards to accent your pictures.  It really is a fun set!  I did up two different versions of this box so my club peeps could choose a design based on which color card they wanted to use.


So are you ready to learn how to make it?  I have loads of pictures, a template and a couple videos for you today!

Start with a sheet of 8 1/2 x 11 cardstock and score it as shown on the template.


There are some diagonal score lines involved in this project.  I didn't actually measure them, but when I was done I realized they were all about 2" from the middle score lines.  In the video you will see how I made those score lines...I promise it's easy and just involves a little pinching and creasing!

Once you're done scoring, it's time to glue and fold.  You should end up with something that looks like this (check out the video for more detail!)....


Let's have a look at that video I keep talking about now!  There's more detail about the folding and gluing steps.


So, do you want to see what's inside the boxes?  Each one has a cute little 3x3 card, some hot chocolate and a mini candy cane.


Fun, eh?

Did you notice the sparkly icicles on the snowflake box?  Here, let me give you a closer look.


Last year I did a video on how to make those.  All you need is some Crystal Effects and Dazzling Diamonds glitter!  Check it out.


For this project I made the icicles right on the box rather than making them on a piece of waxed paper like in the video.  Either way, they are a fun and frosty accent for your winter projects!

And there you have it!  What do you think?  Do you love this project as much as I do?!?!?!?!  The beauty of this project is that you can make it for any occasion.  Like I mentioned in the video, you could have loads of the basic boxes made up and stored flat.  Then you just need to take them out and embellish when you need one!

Everything you need to make the boxes and icicles shown today can be found in my online store...except for the hot chocolate and candy canes!  Head on over there to place your order, or if you are not comfortable with online ordering you can always contact me to place your order.  Remember the Holiday Supplement product is only available while supplies last so make sure to order ASAP to avoid disappointment.

If you like what you see and are Canadian, I would love to be your Stampin' Up! demonstrator!  Send me an email and we can start your creative journey today!

Have an inspired day!


Sunday, November 16, 2014

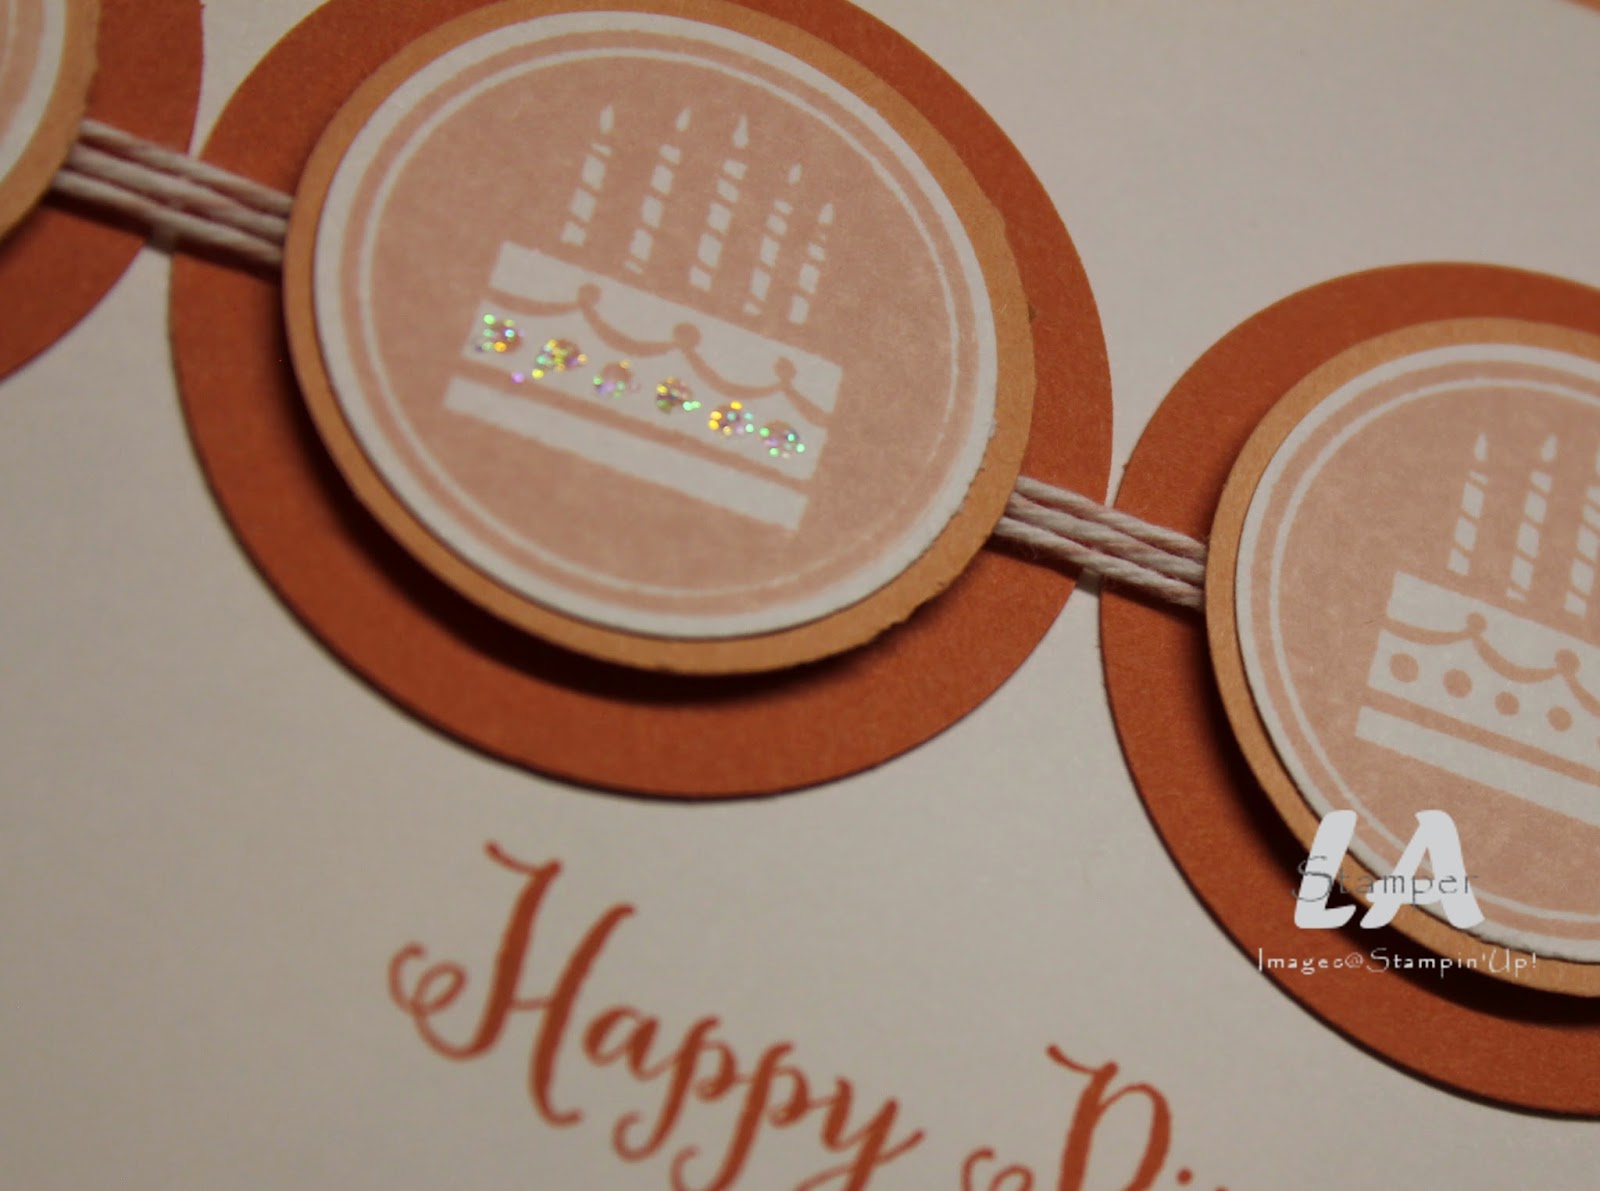
Simple Card Sunday 11-Amazing Birthday Circles

Hi Stampers!  Wow!  Has it really been a week since my last post?  It's been a super crazy week for sure which is one reason why I like to do simple cards!  It's easy to find 10-15 minutes to whip up a simple and thoughtful handmade card for someone and this week's card is perfect for that!


I like to do things in threes when I do projects and this card has a lot of 3's!  Three sizes of circles, three colors (not including white), three images across the card, baker's twine wrapped around it three times...you get the idea!!!


Let's get started with the Step-by Step!
Here's the video so you can follow along in real time with me!


And, I have another card with the same layout to share.  This one features the Flower Shop set and coordinating Pansy Punch!


I started by stamping the flowers with Memento ink on Whisper White cardstock and coloring them with my Blendabilities.  I used the Wisteria Wonder set for the flowers and the Daffodil Delight set for the middle of the flowers.  The leaves are cut with the Flower Fair Framelit set from Mossy Meadow cardstock (the Flower Fair framelits are available in a bundle with the Flower Patch stamp set).  And, to finish off the flowers, I put some Dazzling Details in the centers.  I love the color combination of purples and Sahara Sand, don't you?

All the products you need to create both of the cards shown today can be found in my online store.  Head on over there and place your order today, or if you are more comfortable with it, you can contact me directly to place your order.

If you like what you see and your are Canadian, I would love to be your Stampin' Up! demonstrator!  Contact me today and we can get you started on your creative journey!

Have an inspired day!


Sunday, November 9, 2014

Simple Card Sunday 10-Remembering Your Birthday

ETA:  I know, it's Monday!  Yesterday our family took a technology break and turned off our phones, computers, video games, and tv (until the Walking Dead came on!).  And, wouldn't you know it, I totally forgot to upload my video and publish my post before we did that.  So, it's Simple Card Sunday on a Monday!!!

Hi Stampers!  It's Simple Card Sunday time again.  Today I have a pretty pink birthday card with sparkle to share with you!  Yes, I used pink AND glitter...those of you who know me well can close your mouths now (I will be back to my usual color schemes for the next post!!!)!!!!!


Now, remember, a Simple Card Sunday card has to be made in 10-15 minutes max, use few supplies and be made in 5 easy steps.  Here we go!


Step-by-Step:
  • Fold the Whisper White cardstock (5 1/2 x 8 1/2) in half. Attach a piece of Strawberry Slush cardstock (3 7/8 x 5 1/8) on it and another piece of Whisper White cardstock (3 3/4 x 5) on top of that!
  • On a scrap of Whisper White stamp the Positively Chevron stamp with Strawberry Slush ink.  Cut out 3 squares measuring 1 1/4 x 1 1/4.  Sponge the edges with Strawberry Slush ink.
  • On a strip of Pink Pirouette (1 inch wide) stamp your sentiment (I used one from Remembering Your Birthday) with Strawberry Slush ink.  Cut one end of the strip like a banner (watch the video for a tip on cutting banner ends!).
  • Glue down the banner and then glue down the squares (as shown in the picture).
  • On every second chevron, apply some Dazzling Details so it sparkles!
 Here's the video.  Watch for that tip on cutting banner ends!


 As always, I have a couple other cards made with the same layout for you.

I used the new December Wonder PL set from the holiday supplement for this one


There you have it!  The possibilities are endless with this layout...those squares can be stamped, DSP, or you could emboss some cardstock for them!

Everything you need to make all three cards shown today can be found in my online store.  Head on over there to place your order today, or if you prefer, you can contact me to place your order.

If you like what you see and are Canadian, I would love to be your Stampin' Up! demonstrator.  Contact me today and we can start your creative journey!

Have an inspired day!


Tuesday, November 4, 2014

Rock 'n Roll

Hi Stampers!  It's the first Tuesday of the month which means it's discount day at the grocery store AND it's Technique Tuesday!  Could it get any more exciting?!?!?!?!


This month I'm going back to basics again and doing the Rock 'n Roll technique.  This is a fairly simple technique to stamp a solid image in more than one color.
  •  Start by choosing a solid image stamp
  • Choose 2-3 colors.  Choose colors that are dynamic duos (two shades of the same color for a monochromatic look) or colors that compliment each other.
  • Open your ink pads and arrange them lightest to darkest.  This is important so you don't wreck your ink pads.
  • Ink up your stamp with the lightest color.  Rock and roll it in the next color and repeat with a third color if you chose 3!
On the card pictured below, I used the medium star from the Bright & Beautiful set for the technique.  I inked my stamp in Crushed Curry, then rocked and rolled it in Rose Red and finally Blackberry Bliss.


I did up a video so you can see me doing the technique and follow along in real time!


I do have some helpful tips for you to be successful with this technique.
  • always choose a solid image stamp for this technique
  • choose 2 or 3 ink colors.  More than 3 gets a little hard to see all the colors on your image
  • try and choose an image that fits on the ink pad to make it easier
  • you get a very different look with the new foam pads than you get if you are using the old felt pads
Here's another card done with this technique.  This time I used the solid flower from the Mixed Bunch set with Wisteria Wonder and Elegant Eggplant.

ooooh eeeee...check out all those Rhinestones in the middle of the flower!

All the products I used on both cards today are available in my online store.  Head on over there to place your order today.  Or, if you would rather not order online you can always contact me to place an order.  If you like what you see and are Canadian, I would love to be your Stampin' Up! Demonstrator.  Please contact me and we can get your creative journey started!

Have an inspired day!


Sunday, November 2, 2014

Simple Card Sunday 9-Festival of Trees

Hi Stampers!  It's a frosty, snowy day here, which is a perfect day to spend with a mug of tea and my stamps!  I will admit that although I've been showing you a lot of Christmas cards lately, I'm not ready for snow and winter.  Thankfully the heavy, wet snow we are getting today will be a thing of the past in a couple days...the forecast is for warm weather for the rest of the week.  I did learn that I have a snowsuit and a couple pairs of winter boots to buy ASAP for my boys so we aren't caught off guard when the next snow event rolls in!


Today's card was inspired by a card fellow demonstrator Ronda Wade did this last week.  I fell in love with the layout and knew I had to use it!  I simplified it so it fit with the Simple Card Sunday guidelines and this is what I came up with.


Step-by-Step:
  • Fold the Blackberry Bliss cardstock (5 1/2 x 8 1/2) in half and set aside.
  • Cut a circle out of the Crumb Cake cardstock ( 4 x 5 1/2) with the Circle Framelits and the Big Shot
  • Stamp the sentiment (Bright & Beautiful set) with Blackberry Bliss ink below the circle.  Sponge the edges of the Crumb Cake piece with Blackberry Bliss ink and a Stampin' Sponge (see the video for a Stampin' Sponges tip!).
  • On a scrap piece of Very Vanilla cardstock, stamp the solid tree (Festival of Trees set) with Crumb Cake ink and then the tinsel image (Festival of Trees set) over it with Blackberry Bliss ink.  Punch out the tree with the Tree Punch
 Remember, the Tree Punch and Festival of Trees set are available in the Holiday Catalog as a bundle so you can save 15% when you purchase the bundle rather than purchasing them separately! 

  • Stick the Crumb Cake piece on the Blackberry Bliss card base with Stampin' Dimensionals.  Stick the tree inside the circle.
And, here's the video for you so you can create along with me!


Fun card, isn't it!  In the video I mentioned a stepped up version, and here it is!


It's still a pretty simple card with just a couple little elements added!  There's a piece of Vanilla Seam Binding tied on the left side.  And, I thought the tree needed a star, so I punched a star from some Champagne Glimmer Paper.  I really love the stepped up version!

As always, I have a couple other versions of this card for you.

I dusted off my Mixed Bunch set for this card done in Blushing Bride and Crumb Cake.  The sentiment is from the hostess set, Bloom with Hope.

This one features another set I haven't used in a LONG time, Bombs Away Birthday!  This one is a bit more fussy, but still pretty simple!

And, there you have it!  Another fun and simple card with a few extras to spark your creativity!  Everything you need to create all of the cards today can be found in my online store.  Head on over there to place your order and get started creating! 

If you like what you see and are Canadian, I would love to be your Stampin' Up! demonstrator.  Contact me to get your creative journey started!

Have an inspired day!


Thursday, October 30, 2014

Festival of Trees

Hi Stampers!  Today I have a fun Christmas card featuring the Festival of Trees set and punch.  I think the Festival of Trees set and punch is a must have out of this year's Holiday Catalog!


Today's card was inspired by a couple cards in the catalog...check out page 13 and page 24 and see if you can spot the cards that inspired me!


Another must have....the large polka dot embossing folder!   I am loving it a lot right now!

Shopping List
Stamps:  Festival of Trees
Ink:  Crushed Curry, Mossy Meadow
Cardstock:  Very Vanilla, Hello Honey, Mossy Meadow
Accessories:  Gold Glitz Dazzling Details, Gold Baker's Twine
Tools:  Big Shot, Large Polka Dot embossing folder, Tree Punch, Stampin' Dimensionals

**Don't forget the Festival of Trees set and Tree punch can be purchased as a bundle so you can save some $$

Everything you need to create this card can be found in my online store.  Head on over there to place your order today, or contact me directly to place an order.

Have an inspired day!


Tuesday, October 28, 2014

Mummy Bars with the Brownies!

Last week I did some stamping with a local Brownie group.  I love stamping with this group and have done projects with some of them since they were in Sparks!  This time around their leader asked me to do a Halloween project with them so I came up with spooky mummy bars.


The girls were super excited when they saw the full size chocolate bars in their packages!  Before we started I made them promise to not eat their candy until they had permission from their moms or dads...hmmmm, I wonder how many moms or dads ate the chocolate!!!!

This year it's a big group, but they did great!  They listened to my instructions really well and shared all the supplies wonderfully!


I had a blast with the girls and they have placed their requests for the next time I come stamp with them!!!!

These chocolate bar wrappers are so fun and easy to make, that I did up some Christmas themed ones to show you.


Super, super cute!!!   To make a wrapper to cover a full size Cookies & Cream bar you need a 5 1/2 x 6 piece of cardstock.  Score it at 1 1/2, 1 3/4, 4 & 4 1/4.  Decorate, fold up and stick the back flaps together.  I didn't stick it to the actual wrapper so that it could be slid off.


And, here's one final look at the three I made.


You can find all the supplies you need to make these in my online store (except the chocolate bars!).  Head on over there and place your order today, or you can always contact me directly to place an order.

If you like what you see and are Canadian, I would love to be your Stampin' Up! demonstrator.  Contact me and we can get your creative journey started today!

Now, if you'll excuse me, I hear a Cookies & Cream bar calling my name!  Have an inspired day!


Sunday, October 26, 2014

Simple Card Sunday 8-Work of Art Merry Everything

Hi Stampers!  After taking a couple weeks off of Simple Card Sunday it's time to get back at it!  With the holiday season quickly approaching, I did quick and simple Christmas card for you this week.

Remember, for a card to be featured in Simple Card Sunday it has to use minimal supplies, be completed in 10-15 minutes and be completed in 5 easy steps.  This week's card was inspired by a card I saw on Pinterest by Melissa Davies and I fell in love with the simplicity of it.


Step-by-Step
As always, here's the video so you can see me make the card in real time and stamp along with me if you have the supplies!


I made a couple other cards with this same layout.


I've got to say, I'm loving the Work of Art set for quick backgrounds and to color line art images in!  It definitely makes cards quick and easy!

All the supplies to make all three of the cards shown today can be found in my online store.  Head of over there to place your order or contact me to place an order.

If you like what you see and are Canadian, I would love to be your Stampin' Up! demonstrator.  Please contact me to get a catalog!

Have an inspired day!