Showing posts with label Inspired By Ink. Show all posts
Showing posts with label Inspired By Ink. Show all posts
Thursday, April 16, 2015
Hi Stampers! Today I'm sharing one of the cards I did for a swap with my downline when the Occasions Catalog first came out! It was love at first sight for me when I saw the Painted Petals stamp set so I knew I had to use it for our swap!
I love it when the idea in my head comes to life so wonderfully like this one did! Everything about this card makes me smile...the color combination (So Saffron, Wild Wasabi & Whisper White), the ovals, the stamp images and the little embellishment I made at the top of the card!
You can find everything you need to create this card in my online store. Head on over there with the shopping list and place your order today (or contact me to order!).
Shopping List
Stamps: Painted Petals, Dictionary
Ink: Wild Wasabi, So Saffron
Cardstock: So Saffron, Wild Wasabi, Whisper White
Accessories: Linen Thread, Basic Metal Buttons
Tools: Big Shot & Ovals Framelits, Large Oval Punch, Banner Punch, Stampin' Dimensionals, Stampin' Sponges
If you are Canadian and need a Stampin' Up! demonstrator I would love to help you out! Contact me today to get a copy of our current catalogs.
Hi Stampers! Mason Jars are all the rage right now and there are so many ways you can use them. In August, at my Stamp & Share with my downline, we decorated some mason jars in a super fun way!
Step 1: You want your jar to be CLEAN! Because we were decorating the inside of our jars, we swirled some rubbing alcohol around the inside of the jar and then poured it out.
Step 2: Pour some Mod Podge and some ink refill into the bottom of the jar. You need about a toonie sized blob of Mod Podge. The amount of ink refill you use depends on how saturated you want your color...lots of ink results in a darker color, a little ink results in lighter color.
Step3: Set your jar upside down to drain out the excess Mod Podge/Ink Refill. Here's what ours looked like draining.
We covered a sheet pan with some parchment paper, paper towel and then set the jars on popsicle sticks to drain.
Step 4: After all the excess stuff has drained out of your jars, you need to bake them. Put your oven on warm (or a low temperature) and bake upside down for about 10-15 minutes. We took them off the popsicle sticks and removed the paper towel for baking so they just sat on the parchment.
Step 5: Turn them right side up and bake for an additional 20-30 minutes or until all the streaks are gone. This is what ours looked like just out of the oven.
Step 6: Embellish!
We had some pooling of the Mod Podge/Ink Refill mixture around the tops of the jars which resulted in some goobers around the tops of the jars. After they cooled, we put the rings on the jars and embellished which covered up the goobers at the top!
These jars are not washable (other than wiping the outside with a damp cloth) and also not suitable to hold food because of the way we altered them on the inside.
You can find the products we used to embellish our jars in my online store. Head on over there and place your order for some great fall stuff today! And, if you like what you see, are Canadian and need a Stampin' Up! Demonstrator please contact me. I would love to send you a catalog and help you unleash your inner creativity!
Hi Stampers! It's officially fall and I LOVE IT!!!! This past weekend I attended a Stampin' Up! conference in Calgary. My day started waaaay early, but it was a beautiful, clear drive up to Calgary. It was so clear we could see the mountains the whole way! And, my chauffeur got me there just in time for breakfast with some of my fellow demonstrators, Dale (the manager of Stampin' Up! Canada) and two other staff members from Stampin' Up! (who made the trek from Salt Lake City!). I had a wonderful time chatting with friends and making new ones over a delicious breakfast! After breakfast we headed to the conference room for a business session which was very informative and I even got to speak! More on that in an upcoming post!
Whenever there's a Stampin' Up! event that my downline is attending, I like to make a little something for each of them. Five of my downline attended the conference with me this weekend and this is what I made them!
I can't even remember where I learned how to make this fun little box, but I do know it was a loooong time ago!!! It's a super easy box made with a half sheet of cardstock.
Cardstock: 5 1/2 x 8 1/2
Score at 1 3/4, 3 1/2, 5 & 6 3/4
Turn and score at 1 1/2 & 4
Cut out the four corner pieces and make some cuts along the 3 1/2 & 5 score lines to make the box flaps
Fold up, glue the flaps and you have a super cute little box!
I also made up a video for you to see how it all came together!
Don't you just love that plaid look made with the Work of Art set?
During the afternoon session it was a demonstrator party with make & takes, games, loads of prizes and lots of fun! For one of the sessions I was a volunteer and was in charge of the embossing station for one of the make & takes.
It was so much fun to meet new friends and chat with demonstrators I've known for a long time! We also got a pic of me and my downline (except for one...I'm not sure where she was when we took this pic!).
And, here's one final look at that cute little box I made for them!
You can find everything you need to make these little boxes in my online store (except for the chocolate I put inside them!). Head on over there with the shopping list and place your order today! And, finally, if you like what you see and don't already have a demonstrator, I would love to send you a catalog! If you are in Canada, please contact me to get a catalog or place an order!
Shopping List
Stamps: Work of Art, For All Things
Ink: Crumb Cake, ,Cajun Craze
Cardstock: Crumb Cake, Very Vanilla, Old Olive
DSP: Color Me Autumn
Accessories: Hello Honey Ribbon, Autumn Wooden Accents, Linen Thread, Color Me Autumn Washi Tape, Regals Buttons
Tools: Banner Punch, Small Oval Punch, Paper Trimmer (with scoring blade), Stampin' Sponges, Scallop Tag Topper Punch
Hi Stampers! On Tuesday, I showed you one of my swap cards from when I got together with my downline for our Holiday Catalog Shoebox Swap. Today I'm going to show you my other swap card.
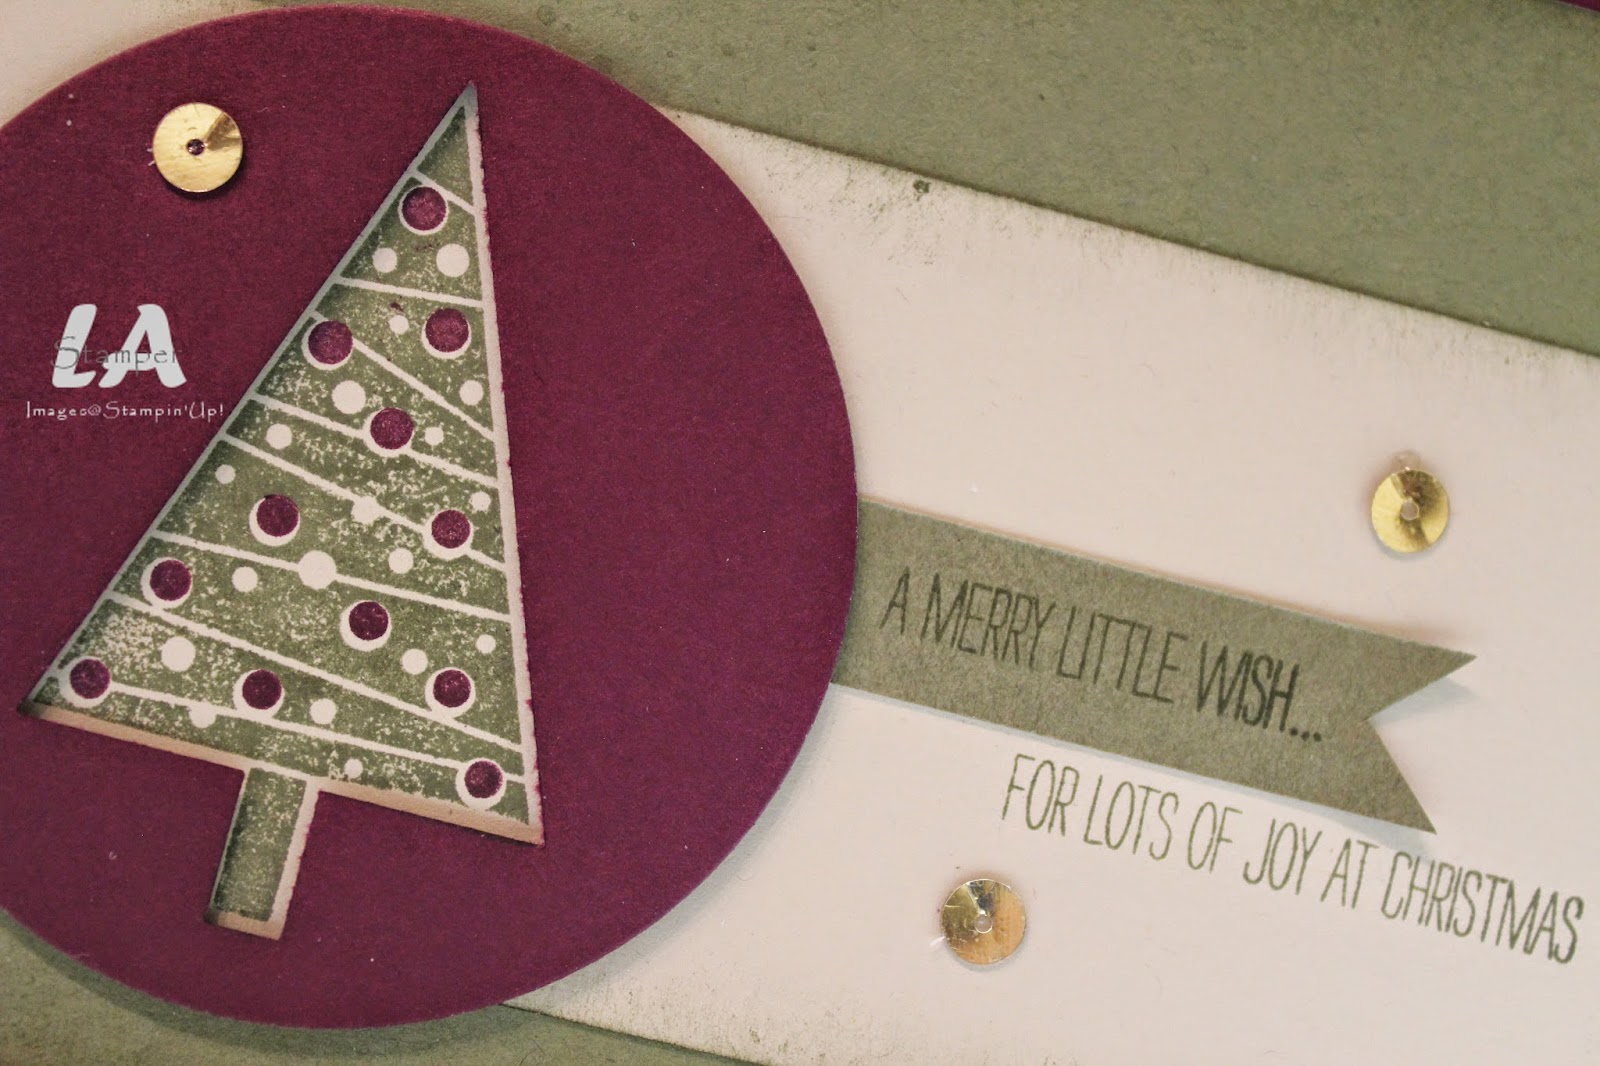
You all know that my favorite set from the Holiday Catalog is Wonderous Wreath, but I think the Festival of Trees set is a close second! I love the variety of trees and that there's a coordinating punch so I can punch out all those fun trees!
Blackberry Bliss, Always Artichoke and Sahara Sand...one of my new favorite color combinations! Here's a little tip for this card, punch the tree out of Blackberry Bliss cardstock and then cut it out in a circle shape with the Circle Framelits and voila, you have a tree shape in a circle! You can then stamp your tree on your background cardstock and have it perfectly fit in the tree shape you punched. Another thing I love about this set is that it's photopolymer so it's super easy to stamp the tree with one color (Always Artichoke) and then stamp the decorations with another color (Blackberry Bliss) and get them perfectly lined up!
You can find everything you need to create this super fun card in my online store. Head on over there with the shopping list and place your order today! Bonus...the Festival of Trees set is bundled with the Tree Punch so when you order them together you save 15%!
Hi Stampers! I'm in a shaker kind of mood lately (check out my star shaker box here) and decided to make a shaker card for one of my swap cards.
Every time a new catalog comes out I get together with my downline members and we stamp! Everyone signs up for 2 different stamp sets and then designs cards (or other projects) with those 2 sets. Then they prep the projects so they can be completed in 10-15 minutes and bring everything needed to create the projects. As a group we all sit around a huge table and make the projects. It is SO FUN and we get to go home with loads of cards from a lot of sets in the catalog without having to buy all the sets ourselves! If you've been to one of my events lately, you've seen some of those projects on display....I have an uber-talented group of girls in my downline and I love showing off their creations as well as getting ideas from their creations!
This card was one of my swaps. I signed up for the Project Life set Holiday Cheer! Even though the PL sets are full of smaller images, they are still perfect for making cards!
I used 2 images from the Holiday Cheer set, the snowflake and the "Baby It's Cold Outside" stamps. The shaker was made with the Shaker Frames, which are awesome circles of double sided sticky foam. They're kind of like the Stampin' Dimensionals in circle frame form! I used the super fun Frosted Sequins for the shaky stuff. You get what seems like millions of silver sequins (2 sizes) and white snowflakes in the container. Very fun!
You can find everything you need to make this fun shaker card in my online store. Head on over there with the Shopping List and place your order today!
Shopping List
Stamps: Project Life Holiday Cheer
Ink: Lost Lagoon, Basic Gray, Pool Party
Cardstock: Lost Lagoon, Pool Party, Soft Sky, Basic Gray
On August 31, I will be celebrating my 12th anniversary as a Stampin' Up! Demonstrator! Oh my, how the time has flown by!!! It's been a great ride for sure!
Until August 28, you can join my awesome team of demonstrators with the Short & Sweet Starter Kit sale! You get to choose $190 of product for your kit for only $125! In addition to the product you choose, you also get a bunch of business stuff to get you started...we're talking catalogs, the new Holiday Catalog, order forms and so much more! If you have an order that totals $200 waiting to be placed you deserve a discount and should give being a demonstrator a try. Sounds super fun doesn't it? Head over to my website and get signed up today! You have nothing to lose!
Check out what I got in the mail a couple weeks ago...
It's a great card congratulating me on my 12th anniversary! This is something relatively new that Stampin' Up! Canada has started. Every demonstrator gets a card celebrating their anniversary, or as I like to call it a Stampaversary, from head office!
It was a great mail day when this came and I opened it! One of the best parts was the back. Look what was stamped on it...
Love! That's right...there is a group of Canadian Demonstrators that has volunteered to make a bunch of these kinds of cards that get sent out for the anniversaries! Isn't that awesome!
So, what do you think? Can you picture yourself getting an anniversary card in the mail from Stampin' Up! Canada in the mail a year from now? If I haven't convinced you to join me yet, here are 10 more reasons...ok, 11!
Save $$$...high quality, coordinating stamping supplies at a discount
Sneak Peeks...SU Demonstrators get to see and order new products a month before they are released to everyone else!
Friendships...I have met some of my closest friends through Stampin' Up! (from all across North America!)
Freedom...the freedom to make your own schedule, the freedom to earn some extra $$$, the freedom to do your business your way
Earn $$$...pay a bill each month, fund your child's extra curricular activities, or support your crafting habit!
Exclusive Events...Convention, Leadership Conference, exclusive Canadian Conferences and my team events (which are SO FUN!)
Free Stamps...earn FREE stamps with the Stampin' Start program in your first 6 months as a demonstrator and earn FREE stamps after that with various other programs and promotions
Stampin' Connection...an online demonstrator community where you can connect and network with other demonstrators from around the world and see thousands of creative ideas and samples
Free Training...through Stampin' Up! and me!
Recognition...Stampin' Up! has many ways of recognizing demonstrator achievements from sale to leadership to how long you've been a demonstrator to everything in between. We earn cash bonuses, product bonuses, free event registration, vacations and so much more!
Inspired By Ink...my team that I love so much! We have Stamp & Share events every second month, a group Facebook Page, and a special You Tube Channel just for us! We learn techniques and about products, we support and cheer each other on and we help each other out. Join my team for an instant group of friends!
So what are you waiting for? You have nothing to lose! Join my amazing team during the Short & Sweet promotion and choose $190 of product for only $125...and no shipping charges on your starter kit! You choose what you want in your starter kit and you choose what kind of demonstrator you want to be. Sign up for the discount on your crafting supplies or sign up to make it a career, or sign up for something in between! But hurry, this offer ends August 28! Run to my website and get started right now!
Each time a new catalog comes out I do a big swap with the demonstrators on my team. We get together and stamp an afternoon or evening away and go home with loads of new samples to share at our events. For the last swap we did in May, one of the projects I did was a cake pop holder.
As soon as I saw this stamp in the Num Num stamp set I knew exactly what my project would be! My color inspiration came from the Moonlight DSP stack and I paired Hello Honey with Lost Lagoon and a little bit of Basic Gray.
I started with a strip of Hello Honey cardstock which I stamped with an image from the Mosaic Madness set and Hello Honey ink. I punched each end with the Scallop Tag Topper Punch and did some scoring in the middle so it would be able to sit flat on a table.
The little saying is from the Num Num set and I colored it with Stampin' Write Markers to get it multi-colored. I stuck it on my project with the new Fast Fuse adhesive and embellished with a little Lost Lagoon banner and a metal button. The cake pop is tied in with some Lost Lagoon ribbon (you know...that luscious new In Color ribbon that you need every color of!!!).
I will admit that at first I didn't really like the new Fast Fuse adhesive. It's really sticky, but there's a bit of a learning curve. Now that I've figured it out I think I will be using it a lot more!!!! Here's a little video comparing Fast Fuse and SNAIL so you can see the difference between the two...and I had a little Harry Potter moment (HP fans will know it when they see it!!!)!
Everything you need (except the cake pops!) to create this project can be found in my online store. Head on over there with the shopping list and place your order today!